Sunday 31 March 2019

Dairy Part 4

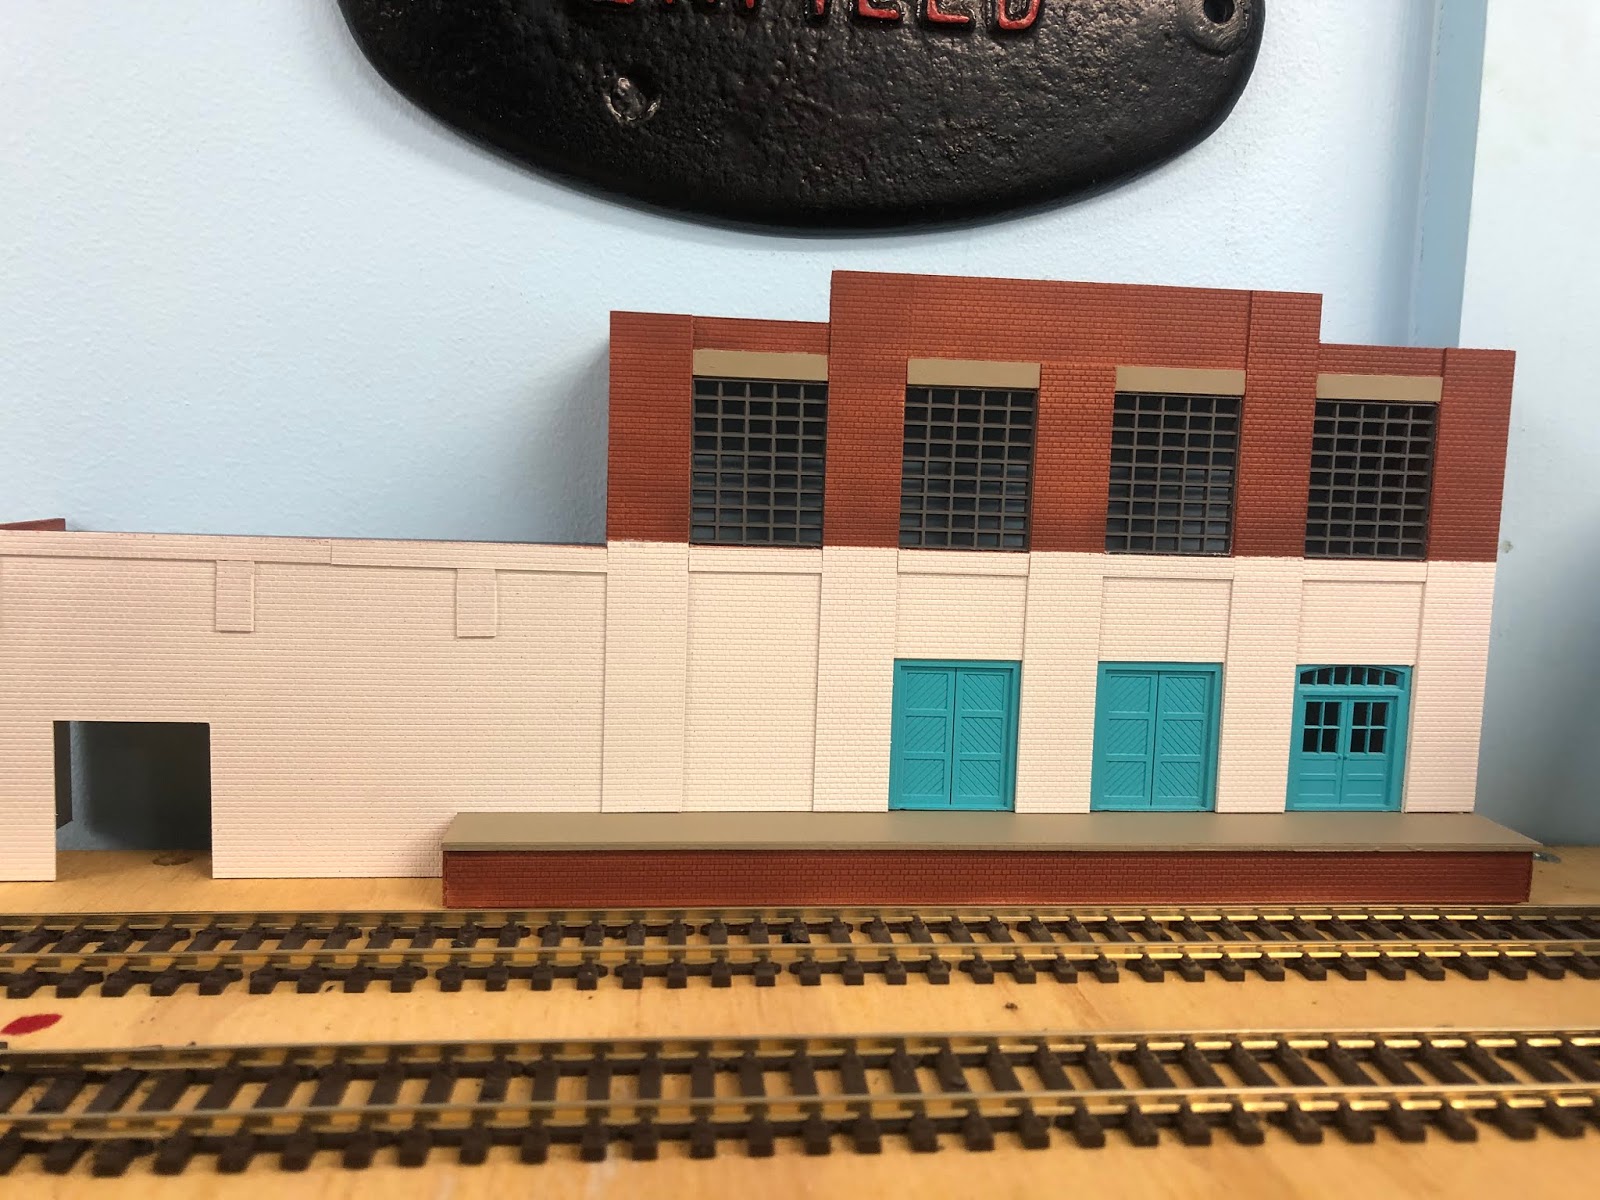
Here is where I'm up to.

I've made the sign and added the awning.

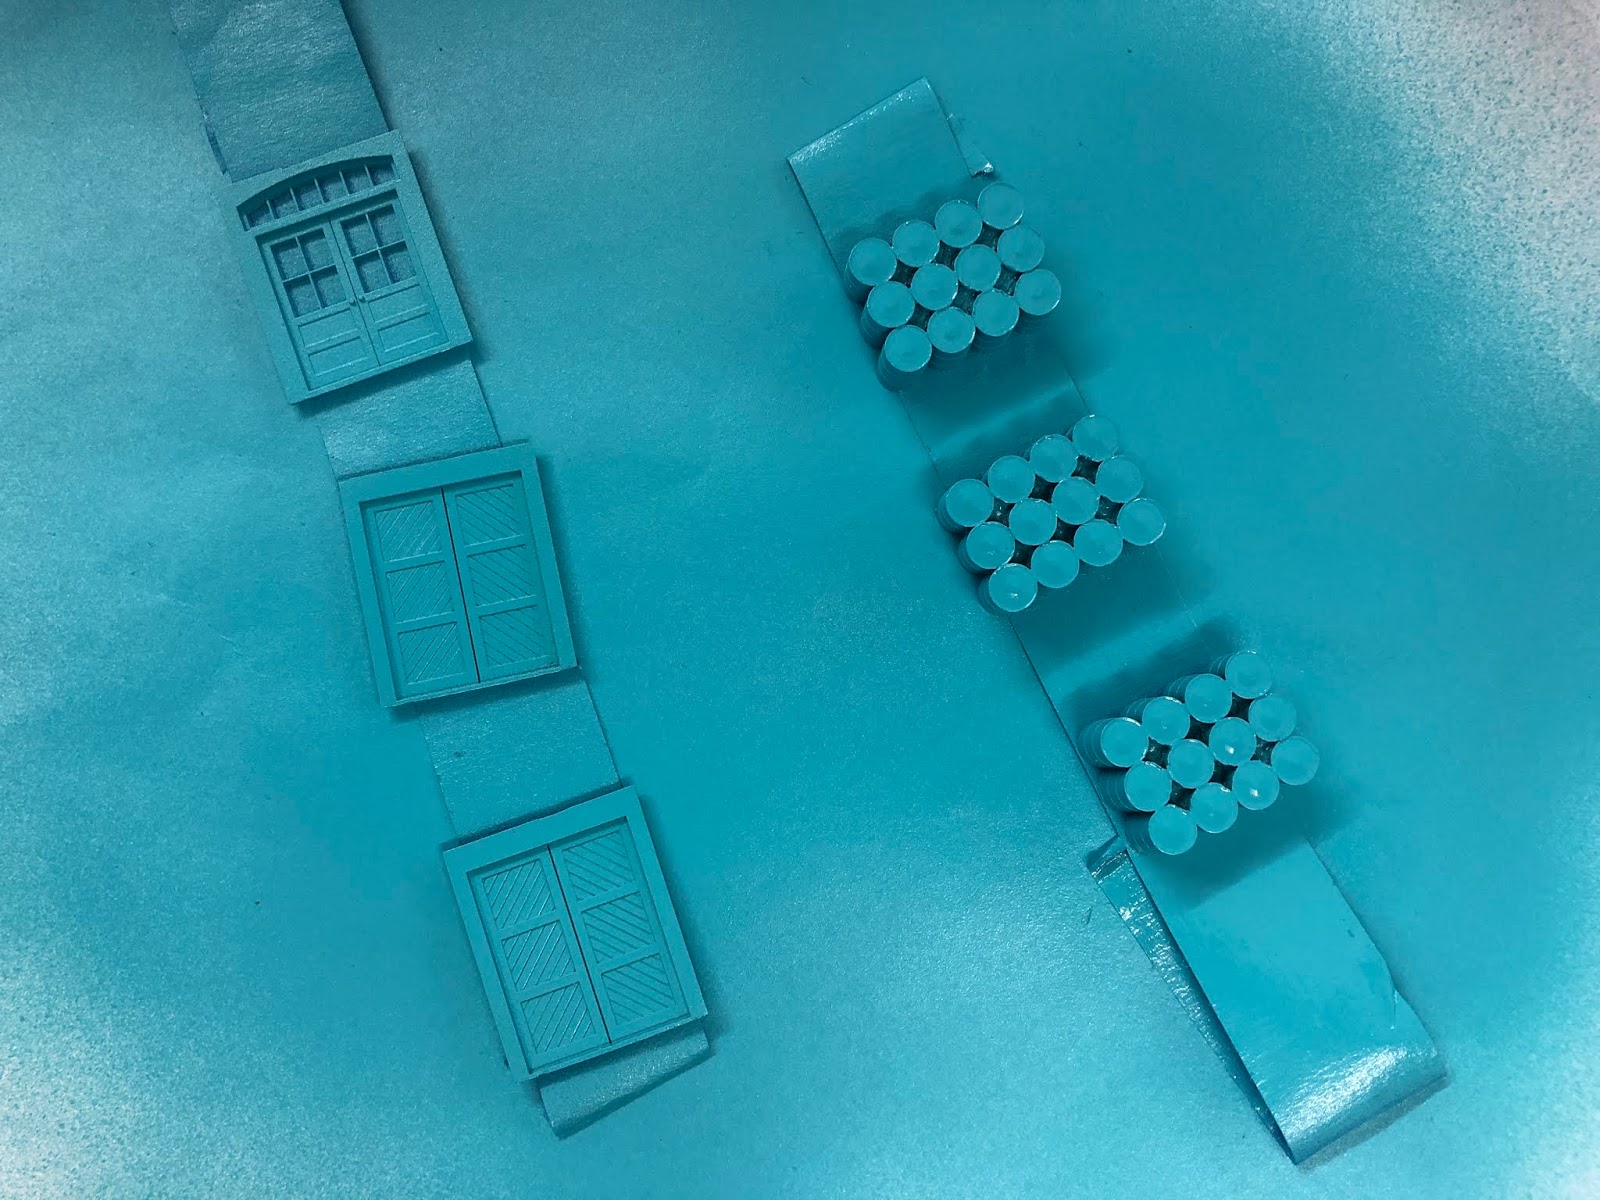
The awning is  a strip cut from a large sheet of Evergreen styrene with the corrugated profile. I added supports from Walthers modular kits to the bottom of this strip. This was painted and then added to the building.

This was the wrong thing to do. The supports should have been added to the building and then the roofing added as only three of the supports are actually attached to the building.

However, it works for now. If it falls apart, I will redo it properly.

The next step is glazing and then scenery.


Until next time.

Monday 25 March 2019

Dairy Part 3

I've been busy with other train related stuff of late so my 15 minutes a day has been taken up with that.

Back to the dairy. Here is the latest progress. I has three doors because that is all I painted. The fourth door is currently drying.


Until next time.

Sunday 10 March 2019

Dairy Part 2


Throughout the week I finished the main building. I added the art deco style columns to the dairy and some brick trim. I also added concrete lintels over the windows. Side walls were constructed out of brick embossed styrene attached to 40 thou styrene before being attached. The brick trim on the lower section will hold the brackets for the awning. I stuck it in place and it looked grand.


The whole building was given a couple of coats of white primer.


The bottom part was masked and Model Master Burnt Sienna was chosen for the top half. This paint was really thick and gluggy. I thinned some down for my airbrush but it was too thin. I'll have another crack tomorrow.


The windows and doors were sprayed as well. A few oil drums for S truck loads were painted the same colour as the door. This colour is a close match to some light blue drums stored at the oil depot at Billabong Marina. (Click the link here https://billabongmarina.blogspot.com/2016/12/nothing-much-to-see-here.html 

Jobs for this week:

1. Repaint dairy and bricks on the platform. 
2. Paint some oil drums red too. 
3. Create some coping tiles for the top of the dairy.
4. Paint platform top, coping tiles and lintels. 
5. Cut out awning and add brackets.
6. Paint awning and brackets.
7. Add windows, doors, glazing, awning and coping tiles. 
8. Print and add logo for the sign.
9. Begin landscaping around building.

I hope that it all goes well.

Until next time.

Saturday 2 March 2019

The First Dairy Part 1

One the Sapphire Coast Line there are three dairies. Technically, there are four, if you count the one on Billabong Marina.

These dairies are at Bega (for cheese), Awdry and Frog's Hollow. As I'm starting at the top and back to work my way forward and down, Awdry is the first of these dairies.

A number of people in the model railway press advise to make a mock up. I figured that I should do this. The original idea was to try and copy the dairy at Gerringong. I simplified it a bit and just put together something made out of cardboard as a place holder.


It's not too bad. A bit of procrastination means that nothing has happened. Until today.

The latest Hornby Magazine has a free low relief dairy kit from Scalescenes. It looks great. It's a little more art deco than I originally planned but a great place to start.

I've a fair bit of plastic which I purchased on a trip to Melbourne once and so I have a few sheets of Slater's English Bond to use up. I also have old bits from old kits. Could I do something with these?


Here's the start. Windows and doors are from old Walthers buildings and kits.


Half an hour later, I had a plan.


Before too long the platform was put together (not shown) and the basic outline of the building cut out.

Next job is to cut out the windows and doors.

Until next time.